
Eldest nephew, whose birthday was December 26th, chose what he wanted me to knit him. He chose the background color, and he asked for the pom-pom on top.

And today, I'm going to share the "recipe".
I knit the beanie from the bottom up, using a stretchy cast-on. I worked the ribbing in the round, but then split to knit flat for the designs in the main part of the hat. I did this because the colorwork was worked using intarsia. (The X-Wing was knit all in white with the detail added later using duplicate stitch.) Once the colorwork was finished, I went back to knitting in the round for the crown, using a standard decrease to get to the top. Then I seamed together the open hole using mattress stitch.
If the above paragraph sounded like gobbledygook, this pattern is not for you. The colorwork is a bit, ahem, involved.
 |
| (and this is the inside neatened up a bit) |
This is not impossible. If you have colorwork (specifically intarsia) experience, and the italicized paragraph sounds reasonable, then you should have no problem completing this beanie.
Finished Measurements;
The circumference is about 18 inches. It's about 8 inches from brim to top.
Materials:
Caron Simply Soft yarn in black, gray, white, red, and blue
(a full skein won't be needed for any of these colors, but most yarn will be needed in the background color)
Size 7 circular (or double pointed) needles
Notions: Bobbins, Stitch Markers, Tapestry Needle
Gauge:
22 stitches=4 inches in stockinette stitch
Pattern:
Cast on 100 stitches using the Old Norwegian Cast On
(Note: it may be useful to use a size 8 needle just to cast on, just to make sure the ribbing edge of the beanie stretches fully.) Then join to work in the round, being careful not to twist stitches.
Work in k2, p2 ribbing for 2-2 1/2 inches. (I went just a touch over 2 inches.)
Then knit one round. After, divide to work flat (which is more about needle arrangement than anything else at this point.)
Set up row: make 1 stitch, k1, place marker, k30, place marker, k4, place marker, k30, place marker, k3, place marker, k30, place marker, k2, make 1 stitch
(Note: the make 1 stitches are for selvedge for seaming up this bit of the beanie later. The markers are placed to set where the colorwork charts will be worked.)
Working in stockinette stitch flat, work the charts of your choice in each of the 30 stitch panels. These charts are not mine. I found them online:
- Rebel Insignia (it's the 14th chart down--you'll have to scroll)
- Crossed Lightsabers (it's the 3rd chart down)
- X-Wing Fighter (it's the 9th chart down)
Note: the X-Wing fighter was worked as plain white:
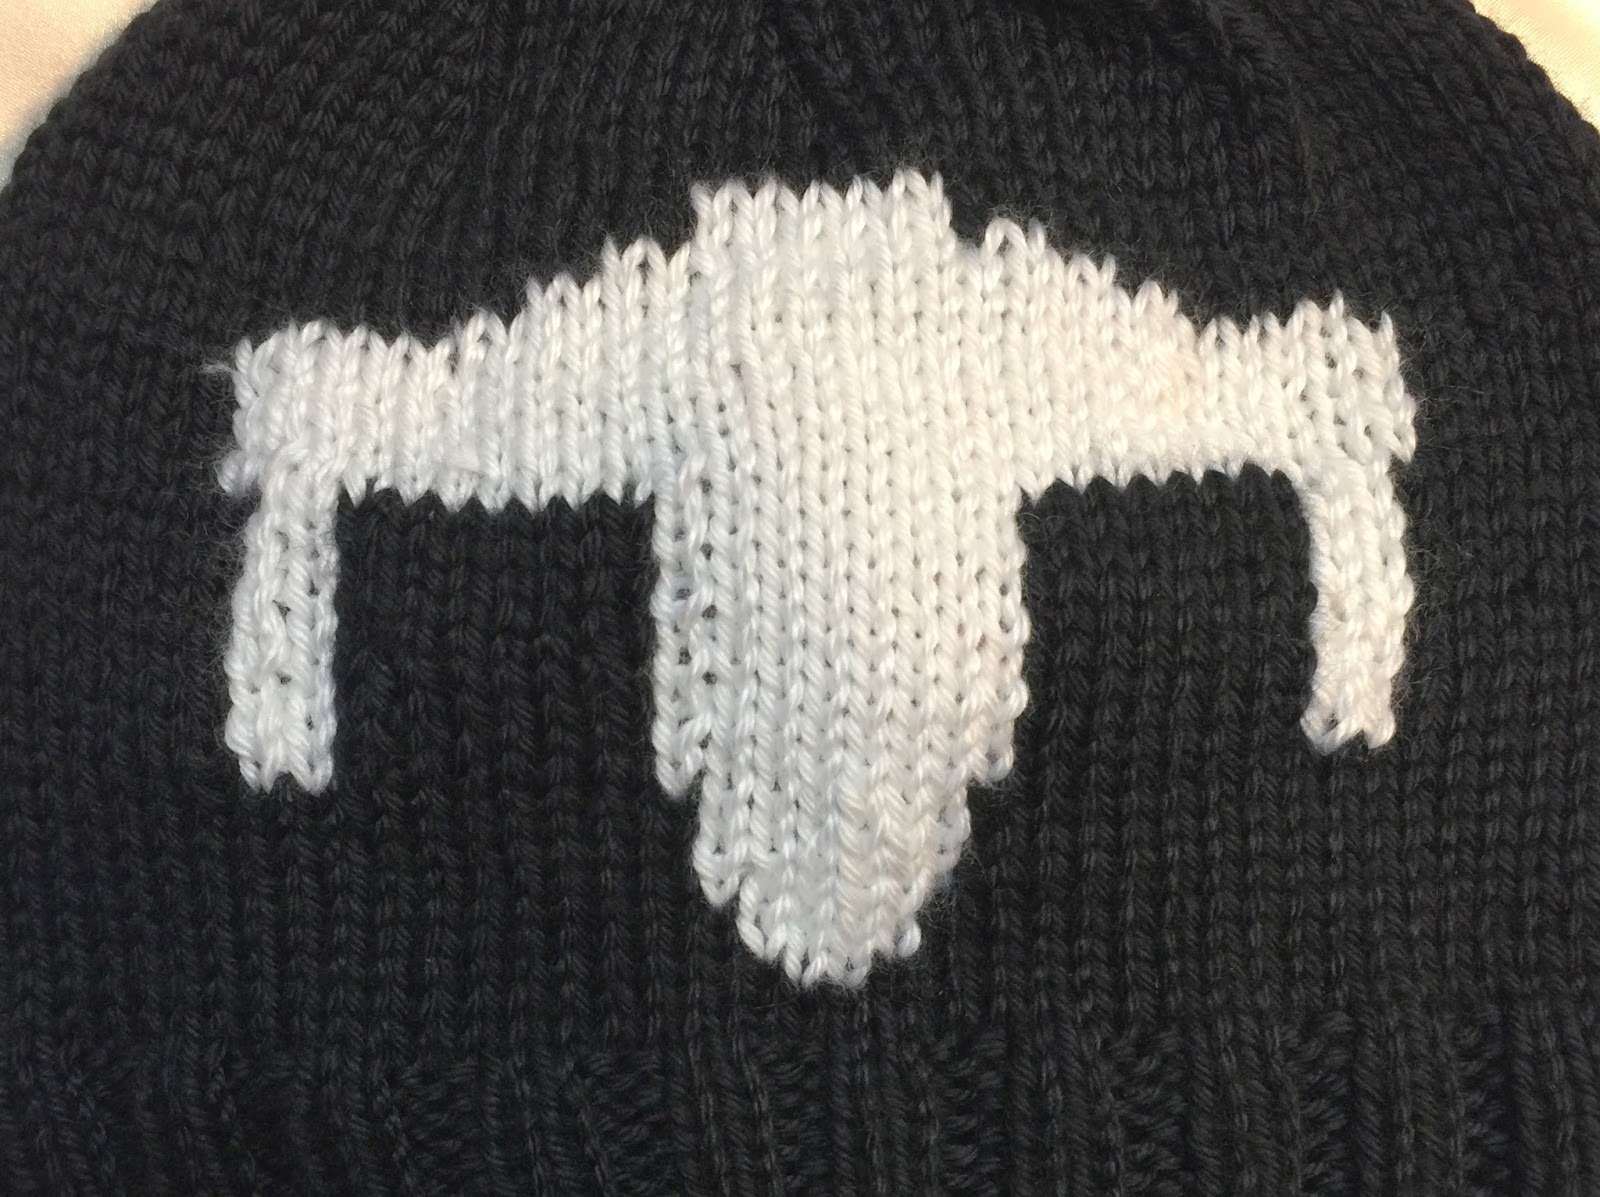
And then the detail was added using duplicate stitch after the beanie was finished:

This beanie can be knit with any 30 stitch chart, so any 3 charts on those two pages (or any other chart) can be substituted to make the hat exactly what you want.
After completing the colorwork, rejoin to work in the round, binding off the selvedge stitches. The beanie should be about 6 1/2 to 7 inches long at this point. If it's not quite long enough, knit even until it is. (This can be fudged a bit. Once the decreases start, the hat should measure from the top of the head to the ears.)
Decreases:
Round 1: *k2tog, k8*, repeat all around (90 sts)
Round 2 (and all even rounds until specified): knit even
Round 3: *k2 tog, k7*, repeat all around (80 sts)
Round 5: *k2tog, k6*, repeat all around (70 sts)
Round 7: *k2tog, k5*, repeat all around (60 sts)
Round 9: *k2tog, k4*, repeat all around (50 sts)
Round 11: *k2tog, k3*, repeat all around (40 sts)
Round 13: *k2tog, k2*, repeat all around (30 sts)
Round 15: *k2tog, k1*, repeat all around (20 sts)
Round 17: k2tog, repeat all around (10 sts)
Round 18: k2tog, repeat all around (5 sts)
Break yarn. Thread through remaining stitches. Tighten.
Wind in all ends. (To keep yourself sane, you might want to start the winding in of ends as soon as you can, like while working the beanie.) Duplicate stitch any details that may have been missed earlier. Make a pom-pom and attach to the top.
And that's it. As the colorwork charts are not mine, permission to make this for resale must be cleared by the copyright holder for those charts.
Oh my gosh, the work that you had to do to create this for your nephew! I bet he loved it! Well done!
ReplyDeletebetty
He better appreciate it after all of your hard work!
ReplyDeleteWow, cool, good job.
ReplyDeleteI like how you have to tell people ' this is not impossible '
Well, it's a pattern, so I want to encourage...
DeleteHi Liz - it's wonderful you've finished it - well done and I bet he's really pleased to have it now - as it is so cold ...
ReplyDeleteCheers Hilary
Must admit that I didn't read this post through. It sounded really complicated, but it's not like I speak "knit". ;) The end result looks really great though!
ReplyDeleteThis post is aimed at knitters, so no worries if you didn't read it. Thanks for stopping by.
DeleteThat's fantastic. I bet he's really proud of it. Well done!
ReplyDeleteThanks
DeleteHis birthday's the day after Christmas? Poor kid. Everyone's going to give him one gift for both. But your beanie came out really nice. It totally does sound like gobbledygook to me, but the result is amazing!
ReplyDeleteIs it the X-Wing on one side, and the rebel logo on the other? That hat really turned out great. I hope your nephew loves it!
ReplyDeleteThese tuques are really cool. I love the starfighter and I bet they both loved their hats
ReplyDeleteJust one hat. Thanks.
DeleteThat is so cool. As I'm not a knitter, I'll just admire from afar! Alana ramblinwitham.blogspot.com
ReplyDeleteThanks
DeleteIt looks great!!!
ReplyDeleteThanks
DeleteGreat job on the beanie! That will keep the head warm.
ReplyDeleteIdeally. Thanks.
DeleteI love it. And I love the tassel too!!
ReplyDeleteThanks
DeleteI love a good pom-pom! Your nephew must be so happy to a custom knit hat from you.
ReplyDeleteSince this isn't his first, I don't think he appreciates it. (That, and he's 11.)
DeleteHaven't touch yarn for a while.
ReplyDeleteCoffee is on
Well, you've been busy with fabric strips ;)
DeleteThe end result is great! The instructions are over my head, but I love seeing what they resulted in.
ReplyDeleteI like to put patterns out there every so often, even if my core readers don't knit.
DeleteGreat job! I’ve only done a small amount of color work. Don’t quite have the patience.
ReplyDeleteThat looks terrific! Your instructions are Greek to me, because I don't knit, but I bet somebody who does will appreciate them.
ReplyDeleteAt least that's a part of the post you can skip over.
DeleteAmazing! I'm impressed beyond words.
ReplyDeleteThanks
DeleteThat's awesome! It looks better than most store-bought beanies :)
ReplyDeleteThanks
Delete